Monday, July 4, 2011

Second post for Pink Champagne Cake


So this is the 2nd part of the pink champagne cake post. It is a white cake recipe and added champagne to the batter to make it a “pink champagne cake” . One secret that I always do with my cakes is to slightly under bake them. It is so hard to make a cake from scratch that is both moist and not dry. You have to be so careful not to over mix the batter or to over bake. Baking cakes from scratch have been one of those things for me that I just can’t seem to completely master. This is either my third or fourth cake I have made from scratch and I still don’t have it down perfect.


As well as under baking the cake I try to under mix the batter. I keep an eye on the mixture and once I think it might be a minute or two of mixing left I take it off the kitchen-aid and pour it into my pans. I also do not use anything on my pans; I don’t add flour, butter or pam. I make sure that pans are non-stick and just keep my fingers crossed the cake does not stick.

Ingredients
18 tablespoons (2 sticks plus 2 tablespoons) unsalted butter, room temperature, plus more for pans
4 1/2 cups cake flour (not self-rising) I have used regular flour as well and it turns out fine
1 1/2 cups whole milk
1 ½ cups Champagne
9 large egg whites, lightly beaten
1 tablespoon pure vanilla extract
2 tablespoons baking powder
1 1/2 teaspoons salt
2 1/4 cups sugar


** The batter will be runny but it cooks really well. Just be aware that it will be somewhat runny.


Directions
Preheat oven to 350 degrees.


In a medium bowl, stir together, milk, egg whites, champagne and extracts. Into a second medium bowl, sift together the flour, baking powder, and salt; set aside.


In the bowl of an electric mixer fitted with the paddle attachment, beat the butter on medium speed for 30 seconds. With machine running, gradually add the sugar. Continue beating until light and fluffy, about 2 minutes. Scrape down sides of bowl as necessary.


Add one-third of the flour mixture and one-third of the milk mixture, and beat on low speed until just incorporated. Add remaining flour and milk mixtures in 2 separate batches beating between additions to fully incorporate. Scrape down sides of bowl, and stir by hand to finish.
Divide batter evenly between prepared pans. Smooth surface with a rubber spatula. I under bake my cakes, but if you want to completely bake it make sure a cake tester comes out clean when inserted.


Let cakes cool in pans on wire racks for 5 minutes. Run a small metal spatula around the sides of the pan, and invert cakes onto greased racks. Reinvert cakes onto cooling rack. Let cool completely before filling.


The cake when it first came out of the oven. You can see from the cake it is a light color like I said I under cook my cakes.


The second cake. Again you can see from the color I underbake the cake.


The cakes on on top of the other.


The finised product. So delish. Please try to mkae your own cake and let me know of any secerts you may have.

Sunday, June 26, 2011

I was going to a pool party last weekend and I wanted to find something fun to make for the party. So I went to all the cookbooks I received from my grandfather in law and I found these awesome instructions on how to make a watermelon bowl. I also bought some blueberries and strawberries to go into the bowl because I thought those would be the perfect summer fruit. After I warned, my husband to have the phone ready in case I cut my finger off I embarked on starting to cute my watermelon.


The first thing that I wanted to do was to make sure that the watermelon I selected had a flat bottom. This will allow the watermelon once it cut to sit on the table without it rolling off.

I then took a pen and tried to sketch the outline that I wanted to cut out. One thing that I found out from trying to make the watermelon bowl was I could not stay in the lines. No matter how hard I tried, I was not able to cut on the lines I drew on the watermelon.


Once I had the outline cut out, I made sure that I cut a HUGE “X” in the top of the watermelon. It is very important to cut the “x” on top so that when you are pulling the watermelon apart it does not break into a million different pieces.


Once the top is removed I used an ice cream scoop and proceeded to scoop out all the inside of the watermelon. I made sure to put all the insides of the watermelon in a separate bowl to ensure that I saved it and put it in the bowl with the rest of the fruit.


The outline I drew on the watermelon and me trying to cut within the lines.


The "X" on the top of the watermelon, this will help will seperateing the watermelon.


Once the watermelon top is removed, loos so good.


The bowl complete with the watermelon, strawberries and blueberries in it.


A top view of the watermelon bowl. It looks delish, and was a bit hit at the pool party.

Herb Box

I went home a couple of weeks ago for my cousin’s graduation party. The party was on Saturday so I was able to spend all of Sunday with my family. My mother and I have very similar personalities; we have a hard time sitting still and need to be always doing something. So we thought of a project to do together. I don’t have a lot or room in my backyard and we don’t have any grass. It is something my husband and I are planning on putting in grass one day.

We decided to make herb boxes for my backyard. I wish I could give some dimensions and some better information on how to make these, but my mother and I came up with the idea and my father did the execution of it.

Here are some pictures of what the boxes look like. Like I said sorry that, the instructions are not better but it is a great idea to try to make.


Top view of the box.

This is a picture of the basil and parsley.


This is the second box, you can see the chives and rosemary.

Tuesday, June 21, 2011

Chicken and Broccoli White Pizza

As I posted in a different blog, my husband and I love pizza, so I began to make my own pizza crust. The best part is the dough freezes and still comes out great. There have been nights when I have forgotten to take out chicken or something else for dinner. So, as soon as I get home I take the dough out of the freezer and by the time we change out of our work clothes, walk the dog, get the mail etc the dough is completely defrosted and we are ready to sit down and eat dinner.

I was away for a weekend visiting family and my hubby was home alone. So, by the time I got home there was no time to grocery shop and get everything done so we had no food in the house for almost a week. We finally had time to get the store and I hate to admit it but I bought a rotisserie chicken. I usually like to roast my own chicken but I just did not have the time.
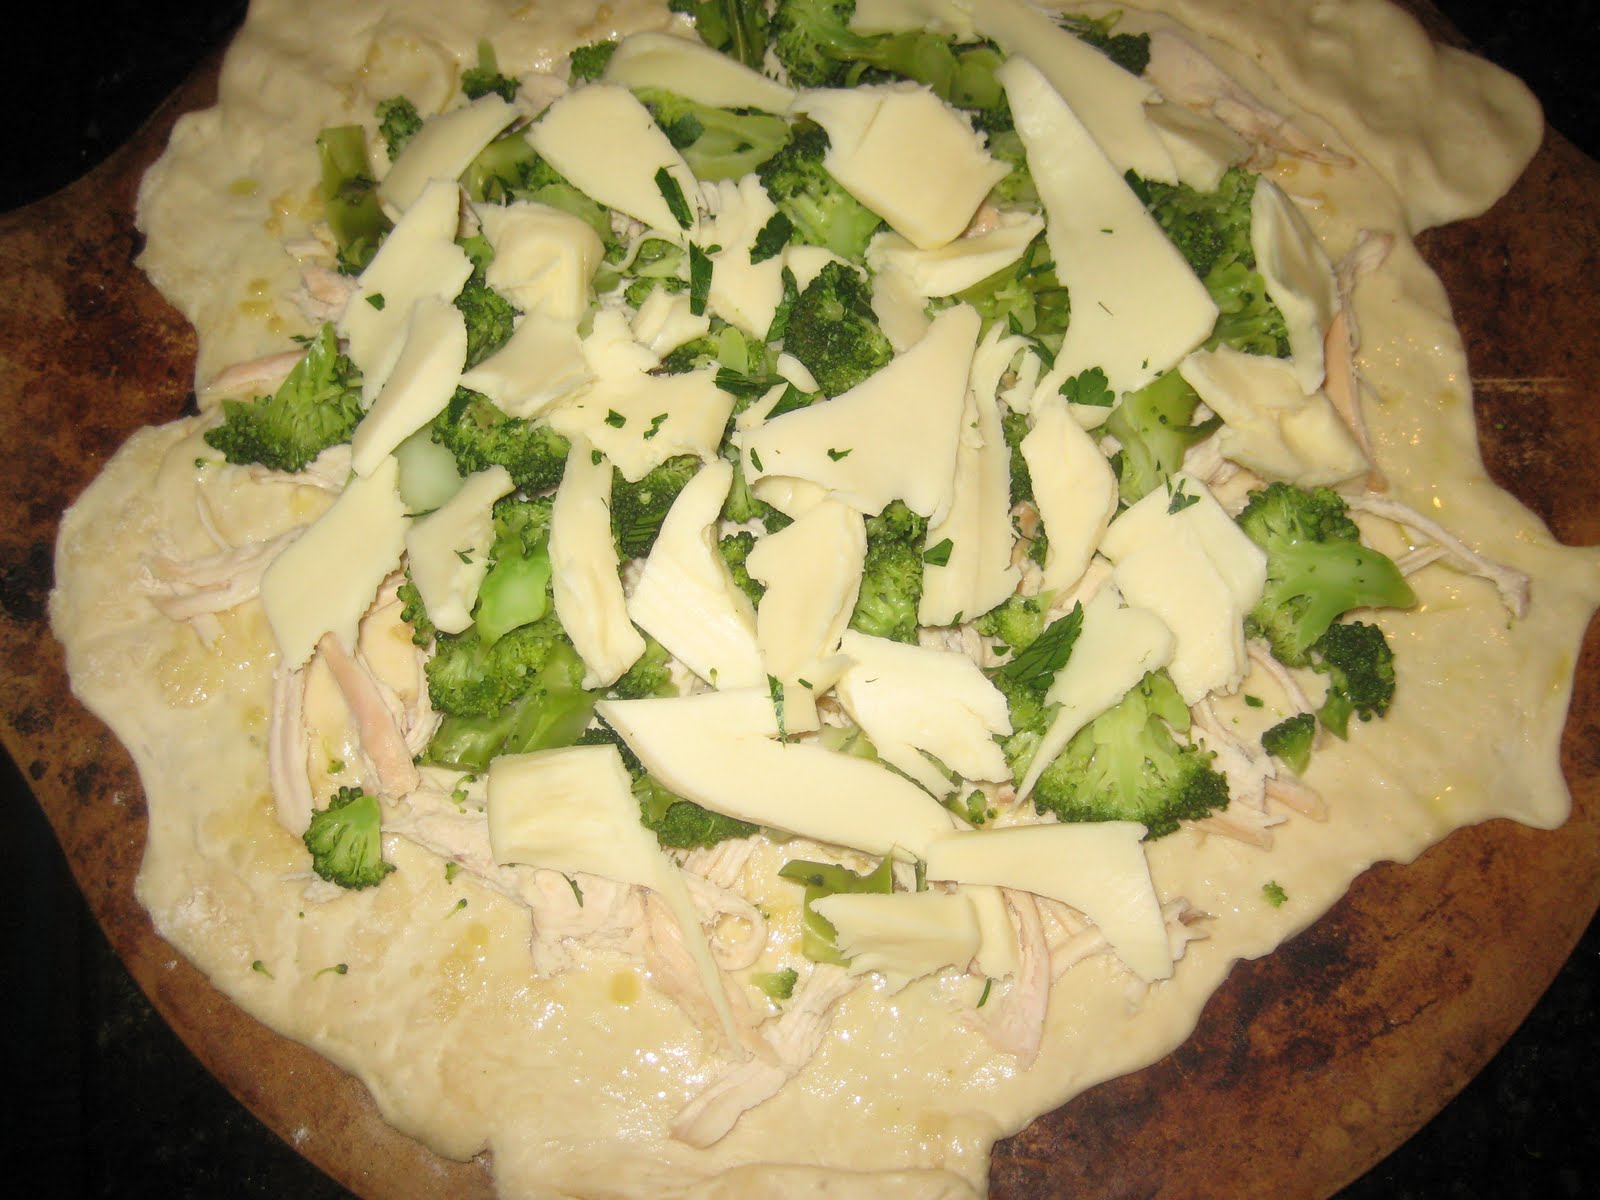
So, this was a white pizza with roast chicken and broccoli. I just used a little bit of oil and garlic on the dough and layered chicken, broccoli and some mozzarella on top. Popped it in the oven for 30 min at 350. It is quick and easy with little to no clean up.

I love this pizza dough recipe and it has made a weekly appearance in my house, whenever we don’t know what to make we always go to this.

The pizza before going into the oven.

The pizza once out of the oven. How great does that look.


Sunday, June 19, 2011

Pink Champagne Cake

I was going to a pool party this weekend at a friend’s house. I wanted to make sure that I brought something to the party that I knew people would eat and really enjoy. So I decided to make pink champagne cake. I made a white cake and added about 1-1 ½ cups champagne. I will post the white cake recipe in another blog.

I also made a cream cheese frosting with champagne in it to give it a little extra zing. It was delish, the frosting took some getting used to but I would make this cake again. I think it would be great as a wedding shower or engagement party cake. I am going to try and work on the frosting a bit and see if I can get it a little thicker and make designs in a pastry bag.

I will give a little more instruction in the blog about the white cake. This blog is manly to see the finished product.

The first layer of cake with the frosting on it.

After I placed the 2nd layer on top.

The finished product. So delish, kind of making my mouth water a little bit.

Pasta and Pesto

I love pesto you can eat it hot or cold. You can also eat it over noodles, chicken or fish. I made a huge batch of it last week because I knew that I was going to bring some into work and I wanted to make sure there was enough for my husband and I to eat.

This is a classic pesto recipe, and I used the fresh basil from the herb boxes my mother and I built. That is for a later post. I also use pine nuts. This was easy and came out delish I also added some shrimp because my husband wanted something with a little more “substance”. The best pat was I made my own pasta so it made this dish even more delish.

Try it and let me know what you think.

Ingredients
1/2 cup pine nuts or walnuts
4 cups loosely packed fresh basil or parsley leaves
1/2 cup finely grated Parmesan cheese
1 clove garlic
Salt and pepper
1/2 cup extra-virgin olive oil

Directions
Preheat oven to 350 degrees. Spread nuts on a rimmed baking sheet; toast in oven until golden and fragrant, tossing occasionally, 5 to 8 minutes. Let cool completely.

In a food processor, combine toasted nuts, basil, Parmesan, and garlic; season with salt and pepper. Process until finely chopped. With machine running, pour olive oil in a steady stream
through the feed tube; process until smooth.


Heating up the pesto sauce in the pan.

Adding some shrimp per my husbands' request.


Old Fashion Apple Pie

So the last post I showed you how I made pie crust, now I am going to show you what I did with that pie crust. I love apples they are my favorite fruit, but I hate apple pie. Go figure!! My husband on the other hand loves apple pie, so I had some extra time a couple of weeks ago and decided to make some pie.

I did change this recipe a little. I used a variety of different apples to allow for a deeper flavor. I wanted to give the pie an intense apple flavor so I thought this would be the best way to do that. I also took the lemon out of the recipe. I thought that I took away from the apple flavor, feel free to add it back in if that is what you are like.

Ingredients
2 tablespoons all-purpose flour, plus more for dusting
12 variety of apples
3/4 cup sugar, plus additional for pie top
1 1/2 teaspoons cinnamon
1/2 teaspoon nutmeg
Pinch ground cloves
2 tablespoons unsalted butter
1 large egg, beaten

Directions
Heat oven to 375 degrees. On a lightly floured surface, roll out pie dough into two 1/8-inch-thick circles to a diameter slightly larger than that of an 11-inch plate. Press one pastry circle into the pie plate. Place the other circle on waxed paper, and cover with plastic wrap. Chill all pastry until firm, about 30 minutes.

In a large bowl, combine apples, sugar, lemon zest and juice, spices, and flour. Toss well. Spoon apples into pie pan. Dot with butter, and cover with remaining pastry circle. Cut several steam vents across top. Seal by crimping edges as desired. Brush with beaten egg, and sprinkle with additional sugar.

Bake until crust is brown and juices are bubbling, about 1 hour. Let cool on wire rack before serving.


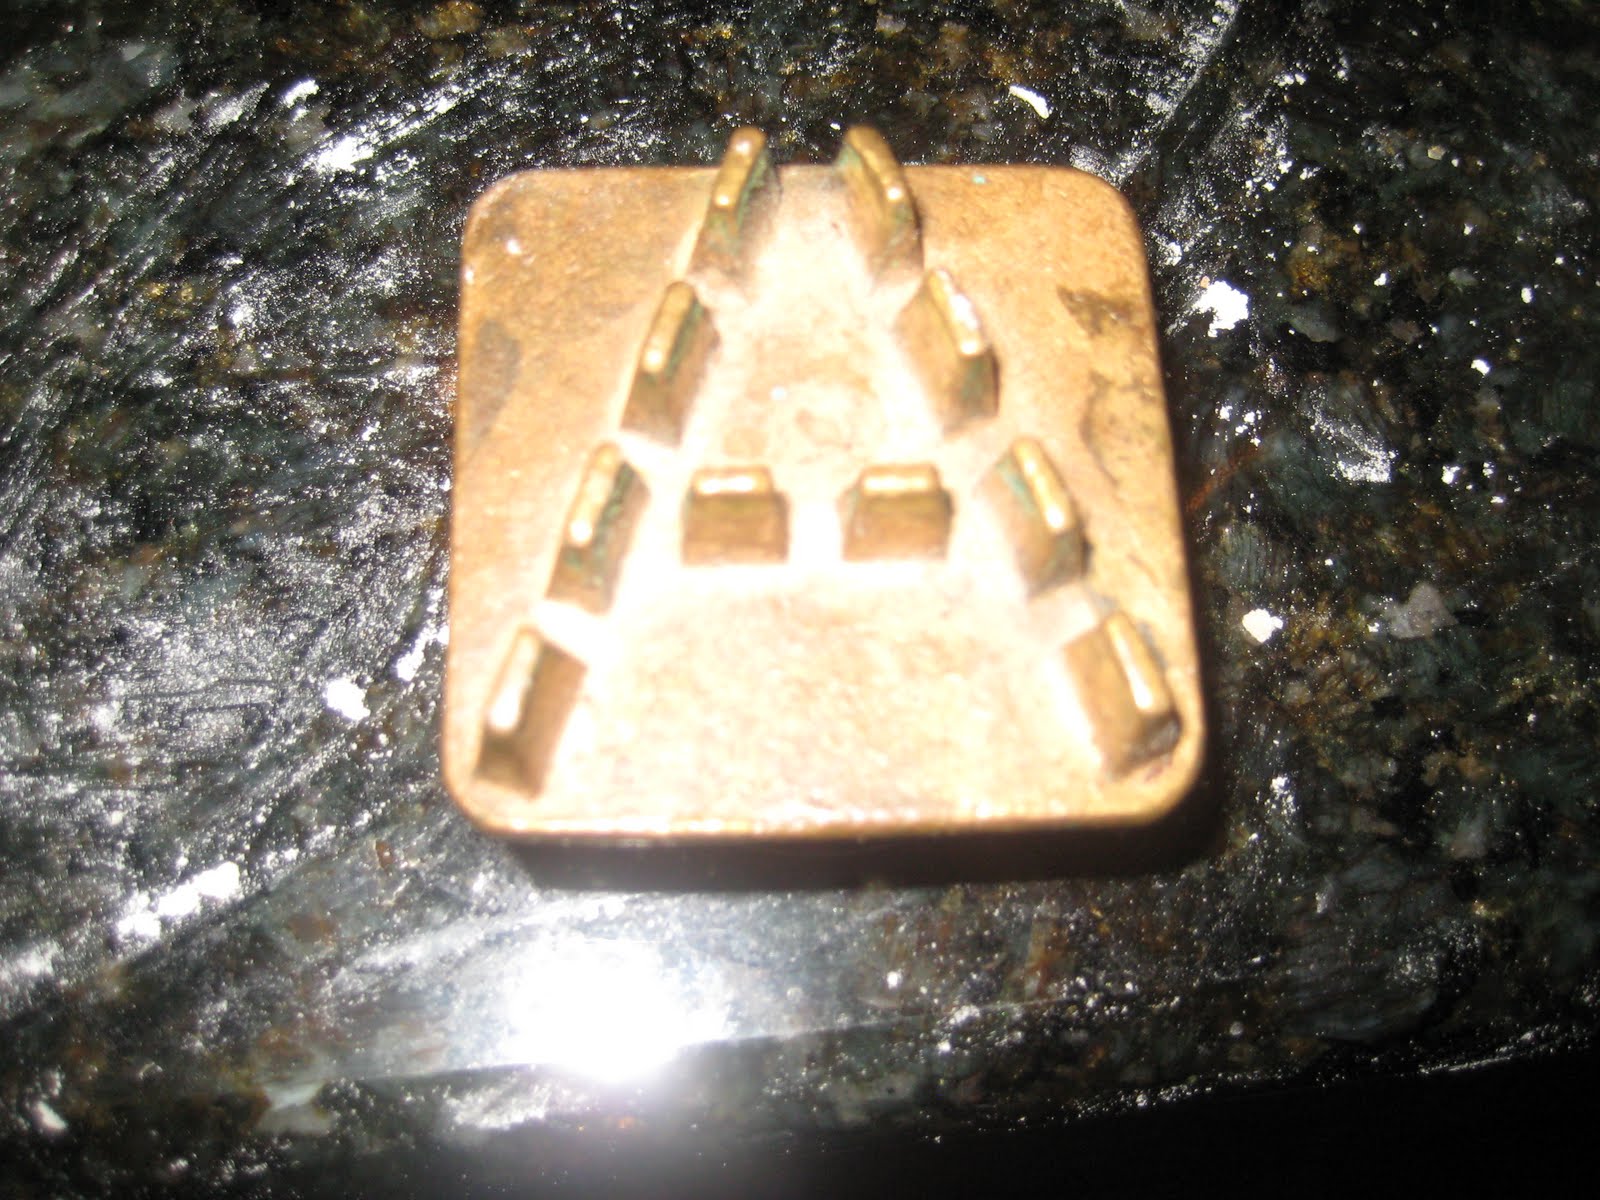
These are awsome stamps I recieved from my grandfather in law. There was a "a", "c" and "p".


The different apples cut up and mixed with the flour, sugar and nutmeg.


The pie before it was in the oven.

The pie once it came out of the oven. How delish does this look.